 Billing Bazaar
How to enter a purchase bill in Vyapar
Entering purchase bills keeps your stock correct and records the GST you can claim back as input tax credit. In Vyapar a purchase looks almost like a sale: pick the supplier, add items and save.
| Time needed | 2 minutes |
|---|---|
| Steps | 7, each with a screenshot |
| Tested on | Vyapar Desktop for Mac, October 2026 |
| Last updated | 11 October 2026 |
Before you start
- The supplier's bill in hand (bill number, date, items, rates and GST).
- The supplier saved as a party (or add them from the purchase screen).
1Click + Add Purchase
On the home screen click the blue + Add Purchase button. You can also use Purchase & Expense > Purchase Bills in the sidebar.

2Choose the supplier and bill number
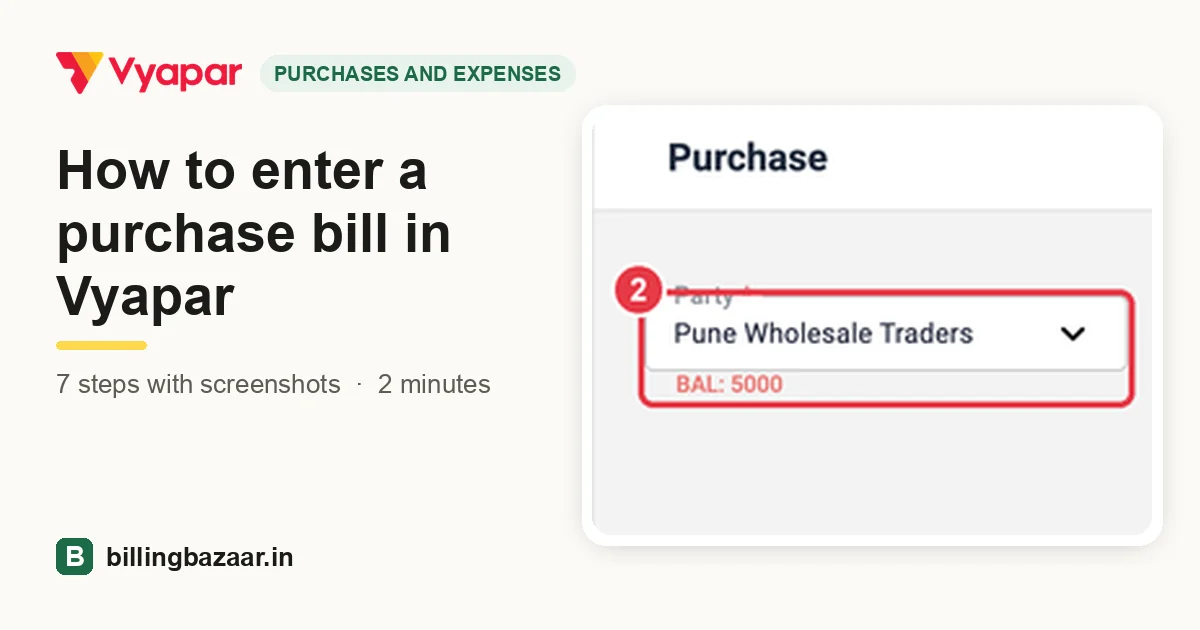
Pick the supplier in Party; Vyapar shows what you already owe them. Type the supplier's Bill Number exactly as printed on their bill, and check the Bill Date and State of supply.

Tip: Use the supplier's own bill number. It is what appears in GSTR-2B and makes matching ITC easy.
3Select the item
Click the first ITEM row and type the item name. The list shows current stock, so you can see what you have before buying more.

4Enter quantity and check GST
Type the QTY. The purchase price and GST rate fill in from the item. Under the tax rate, Vyapar marks the line Eligible for ITC - Input; change it if the GST on this item cannot be claimed.

5Record payment made
Choose the Payment Type (Cash, Cheque or a bank account). If you paid part of the bill now, tick Paid and enter the amount; the rest is added to what you owe the supplier.

6Click Save
Click Save. Upload Bill at the bottom left lets you attach a photo or PDF of the supplier's bill, or create the purchase from the photo.

7Check stock and payables
Vyapar shows New transaction saved successfully. Total Payable on the home screen now includes the unpaid balance, and the item's stock has gone up by the quantity bought.

Good to know
- Purchases with GST appear in your GSTR-3B input tax credit; check them against GSTR-2B every month.
- Use Purchase Return / Debit Note when you send goods back to the supplier.
- Record later payments to the supplier with Payment Out.
Questions people ask
How do I add a purchase bill in Vyapar?
Click Add Purchase, choose the supplier, enter the bill number, add items with quantity, enter any amount paid and click Save.
Does a purchase increase stock in Vyapar?
Yes. Saving a purchase adds the quantity to the item's stock automatically.
What does Eligible for ITC mean?
It marks the GST on that line as input tax credit you can claim. Change it for purchases where GST cannot be claimed.
Can I upload a photo of the supplier bill?
Yes. Use Upload Bill on the purchase screen to attach the bill image or PDF.
Related guides
- How to record a payment made (Payment Out) in Vyapar
- How to create a purchase return (debit note) in Vyapar
- How to add items with HSN code and GST rate in Vyapar
- How to generate the GSTR-3B report in Vyapar
Useful for these businesses
- Vyapar for supermarkets
- Vyapar for medical stores
- Vyapar for garment shops
- Vyapar for hardware stores
- Vyapar for electronics shops
- Vyapar for mobile shops
More on Vyapar
Screenshots are from a demo company in Vyapar Desktop for Mac, October 2026. Menus can move slightly between app versions. Guide by Billing Bazaar, a Vyapar partner.